How to Simplify Kubernetes Deployments with Kluctl: A Beginner's Guide

Introduction
Kubernetes has revolutionized the way we manage containerized applications, providing a robust and scalable platform for deploying, scaling, and operating these applications. However, despite its powerful capabilities, managing Kubernetes deployments can sometimes be challenging. Popular tools like Helm and Kustomize have become the standard for many teams, but they might not always meet every need.
This is where Kluctl steps in. Kluctl is a deployment tool for Kubernetes that aims to combine the strengths of Helm and Kustomize while addressing their limitations. It provides a more flexible and declarative approach to Kubernetes deployments, making it an excellent choice for those seeking an alternative.
In this blog, we'll explore Kluctl's unique features and how it can streamline your Kubernetes deployment process. Whether you're an experienced Kubernetes user or just getting started, this guide will provide valuable insights into why Kluctl might be the tool you've been looking for.
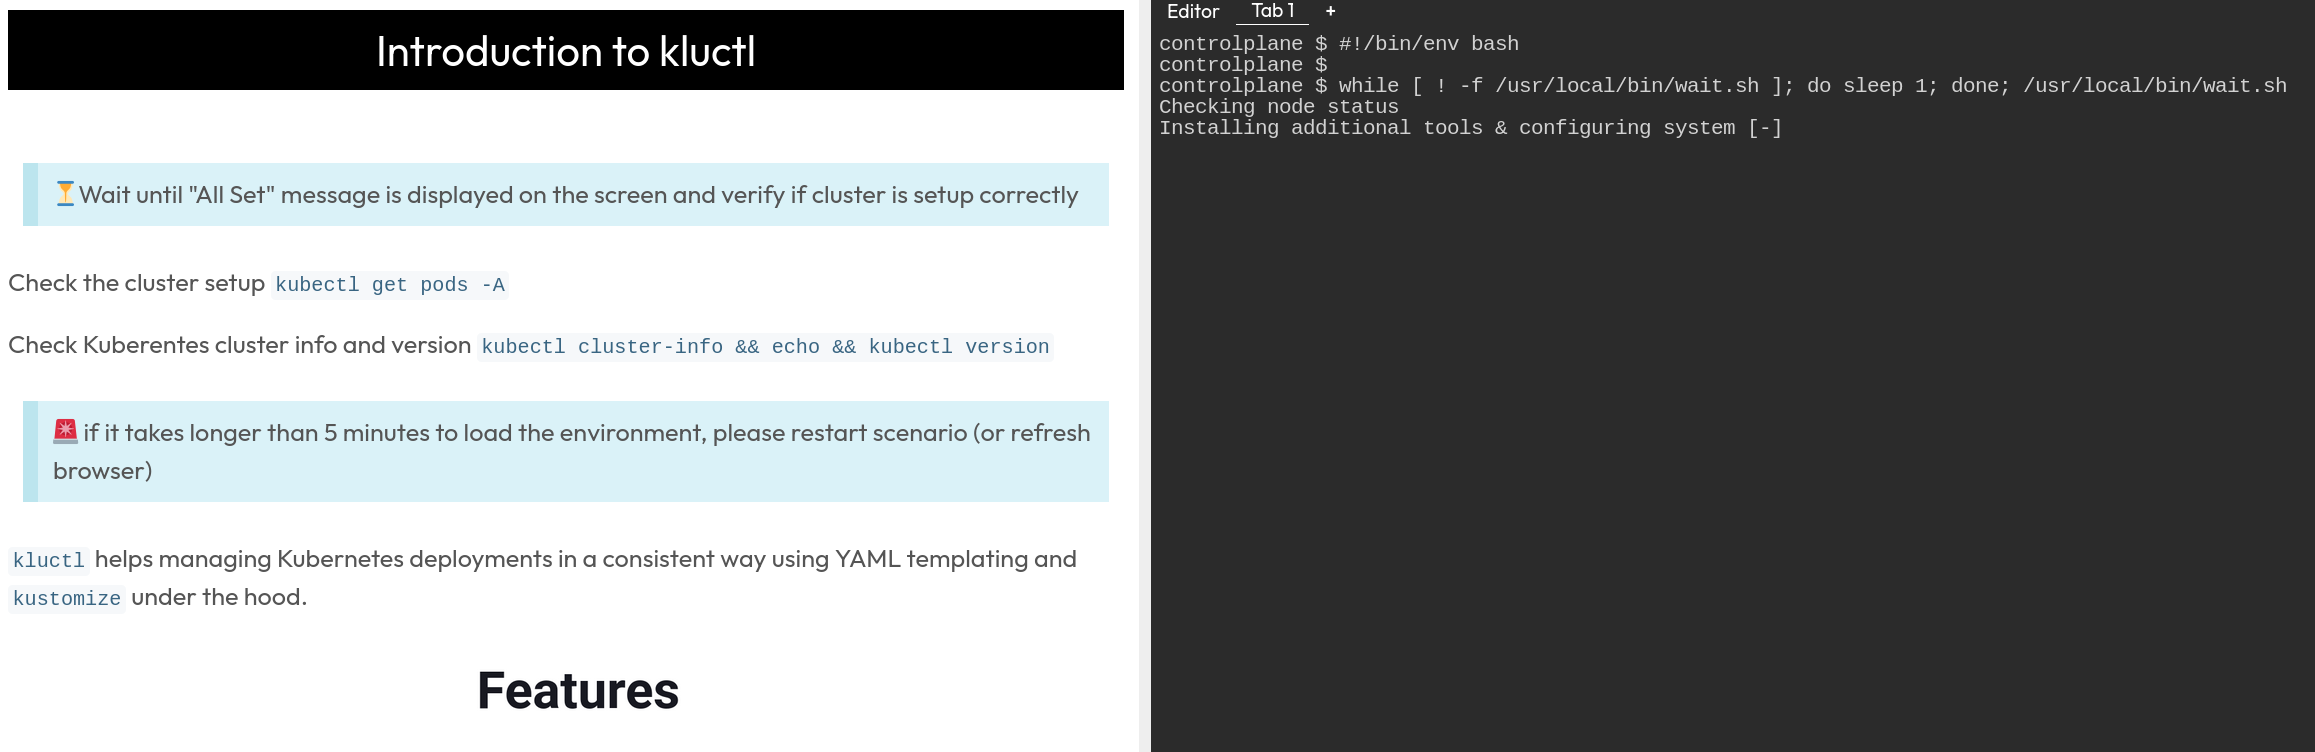
An interactive version of this blog is available on killercoda.com:
 interactive
scenario
interactive
scenario
What is Kluctl?
Kluctl is a modern deployment tool designed specifically for Kubernetes. It aims to simplify and enhance the deployment process by combining the best aspects of Helm and Kustomize, while also addressing some of their shortcomings. With Kluctl, you can manage complex Kubernetes deployments more efficiently and with greater flexibility.
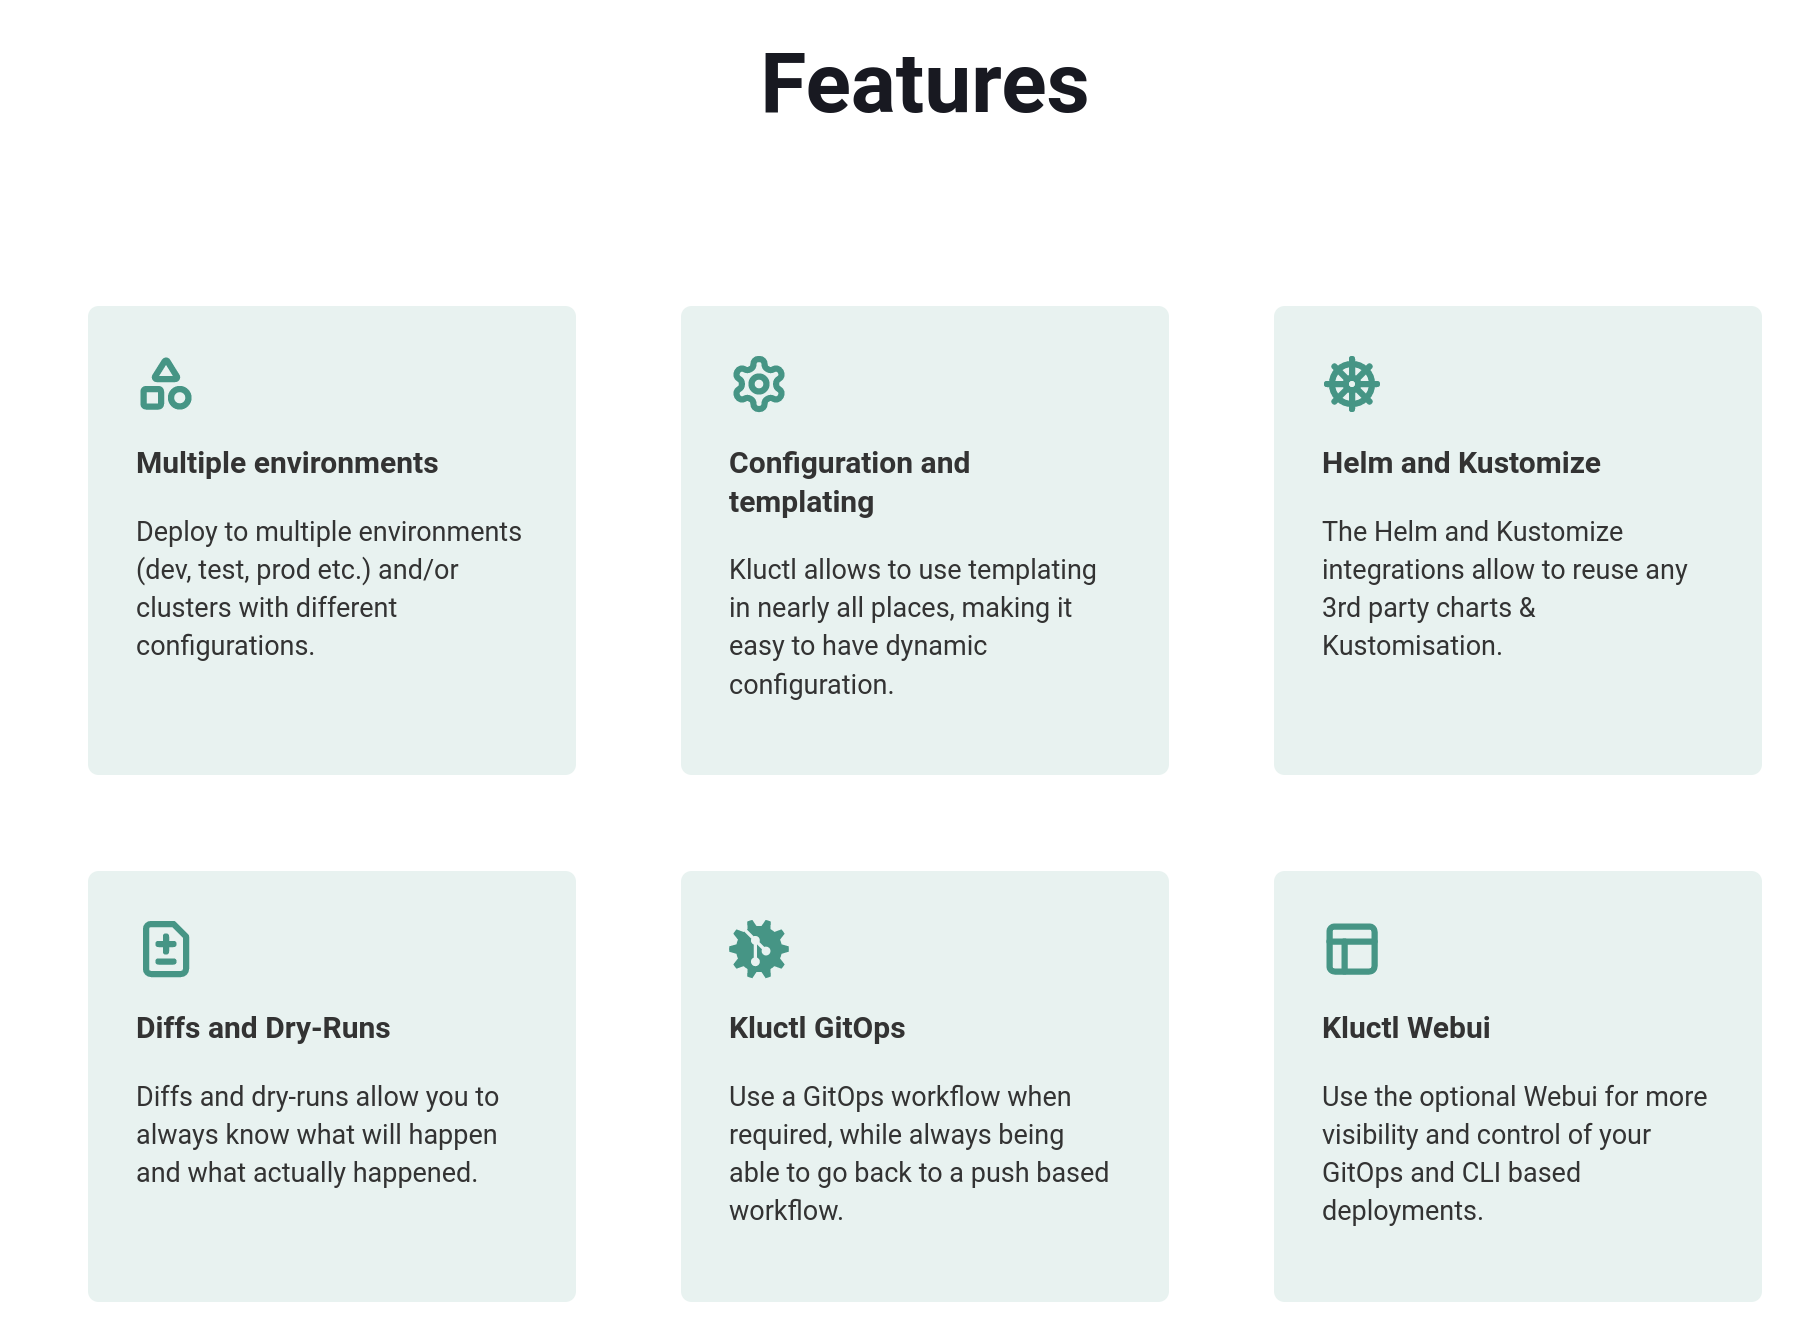
Key Features of Kluctl
-
Declarative Configuration: Kluctl allows you to define your deployments declaratively using YAML files. This approach ensures that your deployments are consistent and reproducible.
-
GitOps Ready: Kluctl integrates seamlessly with GitOps workflows, enabling you to manage your deployments via Git. This integration supports continuous deployment practices and makes it easier to track changes and rollbacks.
-
Flexible and Modular: Kluctl supports modular configurations, making it easy to reuse and share components across different projects. This modularity reduces duplication and enhances maintainability.
-
Validation and Diffing: One of Kluctl's standout features is its built-in validation and diffing capabilities. Before applying changes, Kluctl shows you what changes will be made, allowing you to review and approve them. This feature helps prevent accidental misconfigurations and ensures deployments are accurate.
 source: https://kluctl.io/
Why Choose Kluctl?
-
Enhanced Flexibility: Kluctl provides a higher degree of flexibility compared to traditional tools like Helm and Kustomize. It enables you to customize and manage your deployments in a way that best fits your workflow and organizational needs.
-
Improved Collaboration: By leveraging GitOps, Kluctl enhances collaboration within teams. All deployment configurations are stored in Git, making it easy for team members to review, suggest changes, and track the history of deployments.
-
Reduced Complexity: Kluctl simplifies the deployment process, especially for complex applications. Its modular approach allows you to break down deployments into manageable components, making it easier to understand and maintain your Kubernetes configurations.
In summary, Kluctl is a powerful tool that enhances the Kubernetes deployment experience. Its declarative nature, seamless GitOps integration, and advanced features make it an excellent choice for teams looking to improve their deployment workflows.
Installing Kluctl
Getting started with Kluctl is straightforward. The following steps will guide you through the installation process, allowing you to set up Kluctl on your local machine and prepare it for managing your Kubernetes deployments.
Step 1: Install Kluctl CLI
First, you need to install the Kluctl command-line interface (CLI). The CLI is the primary tool you'll use to interact with Kluctl.
To install the Kluctl CLI, run the following command:
curl -sSL https://github.com/kluctl/kluctl/releases/latest/download/install.sh | bash
This script downloads and installs the latest version of Kluctl. After the installation is complete, verify that Kluctl has been installed correctly by checking its version:
kluctl version
You should see output indicating the installed version of Kluctl, confirming that the installation was successful.
Step 2: Set Up a Kubernetes Cluster
Before you can use Kluctl, you need to have a Kubernetes cluster up and running. Kluctl interacts with your cluster to manage deployments, so it's essential to ensure that you have a functioning Kubernetes environment. If you haven't set up a Kubernetes cluster yet, you can refer to my previous blogs for detailed instructions on setting up clusters using various tools and services like Minikube, Kind, GKE, EKS, or AKS.
Kluctl in action
Next we will setup a basic kluctl project. To start using kluctl define a .kluctl.yaml file in the root of your project with the targets where you want to deploy.
Let's create a folder for our project and create a *.kluctl.yaml *file in it.
mkdir kluctl-project && cd kluctl-project

cat <<EOF > .kluctl.yaml
discriminator: "kluctl-demo-{{ target.name }}"

targets:
  - name: dev
    context: kubernetes-admin@kubernetes
    args:
      environment: dev
  - name: prod
    context: kubernetes-admin@kubernetes
    args:
      environment: prod

args:
  - name: environment
EOF
This file defines two targets, dev and prod, that will deploy to the same Kubernetes cluster.
We can use the args section to define the arguments that we will use in
our YAML files to template them. For example {{ args.environment }}
would output dev or prod depending on the target we are deploying to.
Create Deployment
Next we will create a kustomize deployment for redis application. Under the hood kluctl uses kustomize to manage the Kubernetes manifests. kustomize is a tool that lets you customize raw, template-free YAML files for multiple purposes, leaving the original YAML untouched and usable as is. > 💡 we are following a tutorial from the kluctl documentation Basic Project Setup Introduction
Let's create a deployment.yaml where we will define elements that kluctl will use to deploy the application.
cat <<EOF > deployment.yaml
deployments:
  - path: redis

commonLabels:
  examples.kluctl.io/deployment-project: "redis"
EOF
Now we need to create redis the deployment folder.
mkdir redis && cd redis
Since we are using kustomize we need to create a kustomization.yaml file.
cat <<EOF > kustomization.yaml
resources:
  - deployment.yaml
  - service.yaml
EOF
And now we can create the service.yaml and deployment.yaml files.
cat <<EOF > deployment.yaml
apiVersion: apps/v1
kind: Deployment
metadata:
  name: redis-cart
spec:
  selector:
    matchLabels:
      app: redis-cart
  template:
    metadata:
      labels:
        app: redis-cart
    spec:
      containers:
      - name: redis
        image: redis:alpine
        ports:
        - containerPort: 6379
        readinessProbe:
          periodSeconds: 5
          tcpSocket:
            port: 6379
        livenessProbe:
          periodSeconds: 5
          tcpSocket:
            port: 6379
        volumeMounts:
        - mountPath: /data
          name: redis-data
        resources:
          limits:
            memory: 256Mi
            cpu: 125m
          requests:
            cpu: 70m
            memory: 200Mi
      volumes:
      - name: redis-data
        emptyDir: {}
EOF

cat <<EOF > service.yaml
apiVersion: v1
kind: Service
metadata:
  name: redis-cart
spec:
  type: ClusterIP
  selector:
    app: redis-cart
  ports:
  - name: redis
    port: 6379
    targetPort: 6379
EOF
Deploy the app
Next, we will deploy the redis application to the dev target. First, we need to change to the root of the kluctl-project repository and initialize a git repository there.
cd /root/kluctl-project && \
   git init && \
   git add . && \
   git commit -m "Initial commit"
Now we can deploy the application to dev environment.
kluctl deploy --yes -t dev
💡 Notice that we are using the --yes flag to avoid the confirmation prompt. This is useful for the scenario, but in real life you should always review the changes before applying them.
Handling Changes
Next we will introduce changes to our setup and see how kluctl handles them. Let's see what we have deployed so far by executing tree command.
.
|-- deployment.yaml
|-- kustomization.yaml
`-- redis
    |-- deployment.yaml
    |-- kustomization.yaml
    `-- service.yaml

1 directory, 5 files
💡 Notice this resembles a typical kustomize directory structure.
One of the superpowers of kluctl is how transparently it handles changes. Let's modify the redis deployment and see how kluctl handles it.
yq -i eval '.spec.replicas = 2' redis/deployment.yaml
Now let's deploy the changes to the dev target.
kluctl deploy --yes -t dev
Remember at the beginning, we have added custom labels to each deployment. Let's see if the labels were correctly applied.
kubectl get deployments -A --show-labels
Templating
Next, we will use templating capabilities of kluctl to deploy the same application to a different namespace At the beginning of the workshop, we have two different environments; prod and dev. This setup works out of the box for multiple targets (clusters), however in our case, we want to have a single target (cluster) and we want to deploy different targets to different namespaces.
Let's start by deleting the existing resources and modifying some files. > 💡 It is possible to migrate the resources to a different namespace using the kluctl prune command. However, in this case, we will delete the old resources and recreate them in new namespaces.
kluctl delete --yes -t dev
In order to differentiate between the two environments, we will need to adjust the discriminator field in the .kluctl.yaml file.
yq e '.discriminator = "kluctl-demo-{{ target.name }}-{{ args.environment }}"' -i .kluctl.yaml
We also need to create a namespace folder and yaml and add it to our kustomization.yaml file.
First create the namespace folder.
mkdir namespace
Now we can add the namespace folder to the kustomization.yaml file. > 💡 Notice the use of barrier: true in the kustomization.yaml file. This tells kluctl to apply the resources in the order they are defined in the file and wait for the resource before the barrier to be ready before applying the next ones
cat <<EOF > deployment.yaml
deployments:
  - path: namespace
  - barrier: true
  - path: redis
commonLabels:
  examples.kluctl.io/deployment-project: "redis"
overrideNamespace: kluctl-demo-{{ args.environment }}
EOF
Now let's create the namespace YAML file.
cat <<EOF > ./namespace/namespace.yaml
apiVersion: v1
kind: Namespace
metadata:
  name: kluctl-demo-{{ args.environment }}
EOF
Test the deployment
We will test if our setup works by deploying the redis application to the dev and prod namespaces. Deploying the resources to the dev namespace:
kluctl deploy --yes -t dev
And to the prod namespace:
kluctl deploy --yes -t prod
Let's check if everything deployed as expected:
kubectl get pods,svc -n kluctl-demo-dev
kubectl get pods,svc -n kluctl-demo-prod
Closing thoughts
That's it! We have seen basic capabilities of kluctl.
We have barely scratched the surface of kluctl capabilities. You can use it to deploy to multiple clusters, namespace, and even different environments.
The mix of templating capabilities based on jinja2 and kustomize architecture makes it a really flexible tool for complex deployments.
Next Steps
-
use the webui to explore resources in a visual way
-
join the kluctl slack channel to ask questions and get help in the #kluctl channel
-
read more about kluctl in the official documentation
Thanks for taking the time to read this post. I hope you found it interesting and informative.
🔗 Connect with me on LinkedIn
🌐 Visit my blogs on Medium


 Photo by